Body Work - Paint & Decals
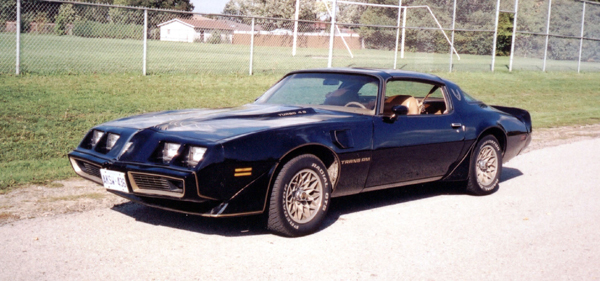
1980 Trans Am SE : Paint & Decals
By: Patrick Smith
Automotive Wisdom through the Ages
We left off last time with body work and final block sanding and priming for
paint to be applied. It was a heavily condensed section that touched briefly on
what was involved. I did this for two reasons, most of us aren’t body men who
can appreciate the actual details and every car is different in terms of what is
needed. It’s true Trans Ams from this era usually have common rust spots and
repairs needed, but no two are identical. This time we cover some of the fun
stuff; paint and decals!
I described in some detail the paint used; a base clearcoat formula that was air
dry catalyst based. We used PPG Chromabase paint and some type of yellow colored
primer. Never learned the make of primer. I suggest strongly however that gray
or some other color primer be used. You don’t want yellow chips to show up on a
black car.
Application was fantastic, no over spray, time was taken to sand in between and
when the clear was shot that car looked like it was carved out of glass. The
pictures show what it looked like out of the booth. I drove it like this for
about about a month or so to let the catalyst leave the finish. That way the
decals could be laid on without fear of solvents being trapped under the decals
and causing die back. The decals and pinstripe job was next. We used Pheonix
Graphix for both the decals and stripes. This was one of the first production
sets made for the 1980 turbo SE cars, way back in 2001. Randy Ricci of Transform
Graphics installed the entire kit. Here are some valuable tips to help make your
installation a breeze instead of a nightmare.
Rule number one is take pictures of your car before the decals are removed. Take
lots of them because there are a heck of a lot of parts in the package. You get
a black and white schematic but there were variations and details that changed
yearly. It also helps to get the exact placement right. I was lucky to have lots
of pics of my car before the repaint. I also had the fortune to have good GM
pics of the 1980 SE to use.
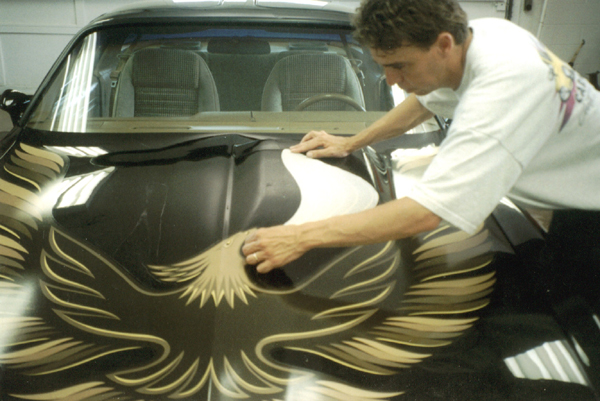
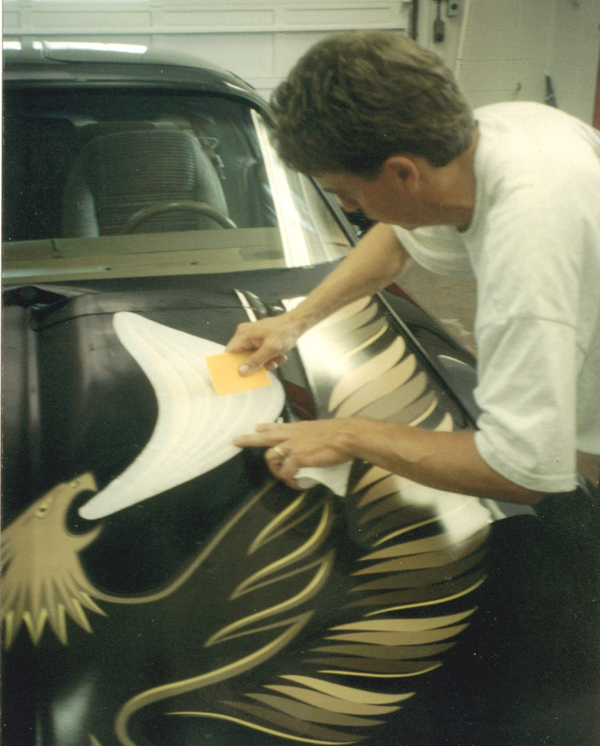
The decals can be installed first. Randy started with the one piece hood bird,
using light detergent and water to wet the surface. The decals have a transfer
layer on top of decal and a backing layer. You remove the backing layer and
place decal on soap/water film and position carefully using the squeegee
supplied. Take your time, glide the decal and use reference points on the hood
for placements. It’s easy for a turbo car because the hood centerline and turbo
bulge are perfect alignment tools. You want the driver side wing to hug the base
of the turbo bulge before it rises upwards. This places the center of the bird
right through the center crease. The flame decal rests on the bulge portion and
4.9 call outs rest on rising sides of bulges.
Remove air bubbles using squeegee with strokes from center of decal outwards.
Once decal is flat, not wrinkled you can remove transfer layer carefully. The
smaller parts like the Trans Am fender decals can be applied dry if desired. Be
sure to leave space at bottom of rear spoiler for the pinstripes. That’s where
those pics you took come in handy. The decal set takes about an hour to do. If
it’s humid, try to work indoors or in shade. You don’t want sunlight making the
metal hot.
The pin stripes take longer. There are lots of die cut pieces to be cut from the
massive roll in correct sequence for each side. Follow the pin stripe guide
supplied with kit and take your time. Make sure you leave enough transfer layer
to allow you to remove it without lifting the pinstripe from the metal. You’ll
have to label the pieces left and right with pencil to make sure you don’t flip
them. If the pinstripe has the thin stripe facing down or outwards on the sheet
metal, you have the wrong side.
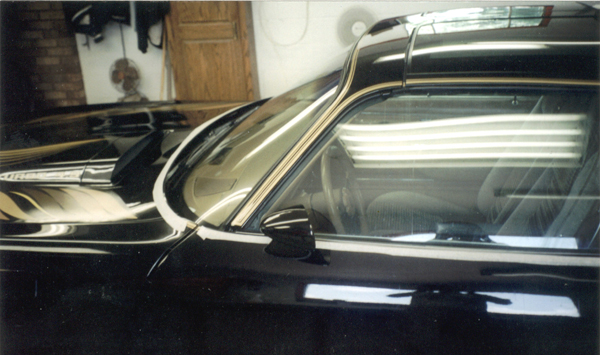
Apply the pin stripes in sections. Do one set at a time. If installing the roof
sections first, the T Tops have to come off and the steering column tilt wheel
should be placed full up. You can use the windshield pillars to guide placement
of the sections. Once the pillars are placed you just have to be sure the front
stripe doesn’t bend much or it will be crooked. It gives you room to place the
front sections that meet in the middle. The trunk lid comes next. Again they’re
paired left and right.
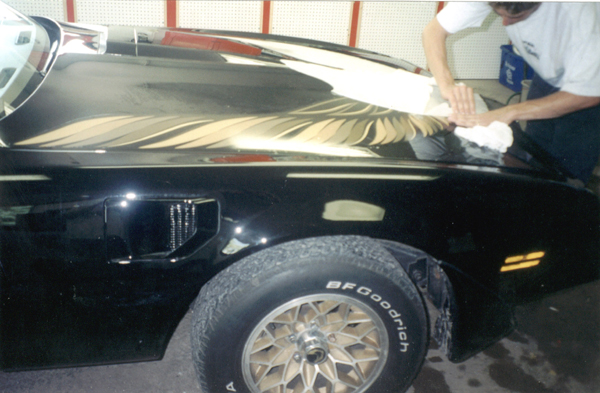
The trunk lid stripes allow you to place the rear spoiler stripes. You will be
left with various smaller pieces such as sports mirrors, fender scoops, front
and rear fender spats air dam and nose stripes. Patience is the key here. Don’t
do it all in one day, you will get sloppy and regret it. If doing it in humid
weather you may find it necessary to use masking tape to hold large sections of
pin stripe in place until it takes to the metal. You’ll see in the picture how
masking tape was used to hold the door pinstripe securely until drying time was
reached. It took two days to do this car. We didn’t have the rear bumper wrap
around extensions. They were on the original car, but the early production kit
didn’t have them. Later kits have the correct wrap around extensions. This is an
example of yearly variations that drive restorers nuts. The kit is easy to
install and is a one person job with the possible exception of the late 1970s
hood bird. It is one piece and it’d be nice to have a buddy help you place the
bird without creasing half of it. He can also help you spot and remove bubbles
too. That is all there is to it. See you next time when we do T Top rubber
installations.